Lydell with you today for a Start to finish Layout Tutorial.
I wanted to just reflect on the Christmas season coming up with this page. I have never really gotten into December Daily, so this was my start! I am hoping to get photos each day to start my first this year.
Here is the project I will show how I completed today........
I used the Main Kit for this Project.
1. Cut Your Black Patterned Paper from the Main Kit to 9 inches x 8.5 inches and ink
2. Cut the grey and white dot paper to 9 x 6-1/4 and ink.
3. Lay in place on your cardstock ( I used white- not in the kit) and stitch in place with a sewing machine (optional- you can just ink the edges if you don't sew)
4. Using the red and white candy striped Printed Paper cut into strips about 1 inch wide and fold into thirds.
5. Add a fine bead of strong glue down the seams and hold to secure.
6. Cut into varying lengths. (I made 13)
8. Now find your flowers and embellishments (chipboard pieces and stickers)
Preparation......
Using the wired flowers
I find the wired flowers sit a little too high off my pages for my liking, so I alter them to suit my needs.
I use some little punched circles to secure my new flower on, once I am finished. This is optional.
I always remove the wires to start with....
Take off the green leafy layer at the base of the flower, attach it to the small punched circle
Then I snip straight through the flower cutting off the bottom third. (see previous photo above)
TIP.....Hold the flower 'top' securely after you cut it, and add a dollop of strong wet glue covering the entire base of the flower ( the part you just cut through) this will hold all the petals together.
and adhere it straight back onto the leafy green layer you removed first. Then set aside to dry.
9. Start to arrange your flowers and layer your embellishments. I created three groupings around my photo. Lay your photo on to get the placement if you need to.
Slide in some chipboard embellishments and layer them if you like. I snipped a little piece of the bobble trim from the trim pack and placed it between the flowers and leaves too. Get your placement right before you glue anything down.
I used the little cut off ends of the flowers as little buds amongst my groupings too.
10. Once your floral arrangements are how you want them, start lifting flowers and squeezing a good strong glue underneath- with out moving anything too much. This prevents having to totally de-construct your arrangements (which never go back the way you originally had them!!!) Lift out the chip pieces and remove their backing adding a bit more glue and set them back in place.
Now the wires you cut off......Twist them around something thin and round, like a paint brush. I used a round file.
leave the ends straight. Add blobs of glue, wrapped around the wire end and slip them in behind leaves and flowers in your arrangement.
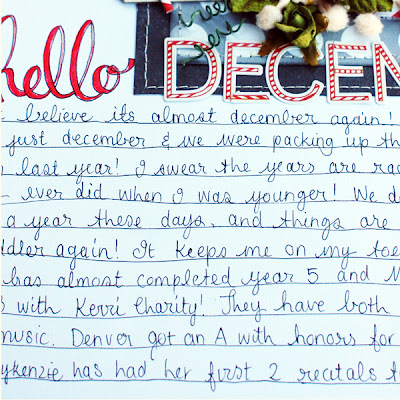
Now add your title, and draw intentionally wobbly lines for your journaling
BONUS TIP.....
Sometimes you run out of the correct letters in your alphas sheet.
I didnt have a couple of letters to spell 'december'
heres what you can do.....
Heres the letters I had.
I chose alternate letters with the basic shapes of the ones I need.
.....an 'F' and 'L' for the 'E's' and a 'P' for an 'R'
Then I just cut up left over letters to 'construct' my needed letters.
and the final title....
Now just add your photo/s mounted on foam tape, and you can call your Layout finished.
Hope you enjoy creating your own welcome to December Layout!
Have fun.


