Sunday, May 18, 2014

MCS May Tutorial

Welcome back today!
                                     
                                 I thought I would share a quick and easy background with you.
                 It is on the My Creative Scrapbook Blog, and I thought I would share it here as well!
                                                       Here's the Layout I created using it.


Here's how I did it.

Spray a stencil on a piece of light coloured cardstock


I used a Crafters Workshop Stencil and Shimmerz Paints (Heidi Ho Blue Coloringz)


I used a piercing tool to poke holes around the border of the stencil
I tried to keep them fairly even.


I put a foam mat under the cardstock so the piercing tool could go through the paper cleanly


Thread a needle with crochet cotton and so a simple straight stitch.
(up one hole, down the next)


It looks really pretty!


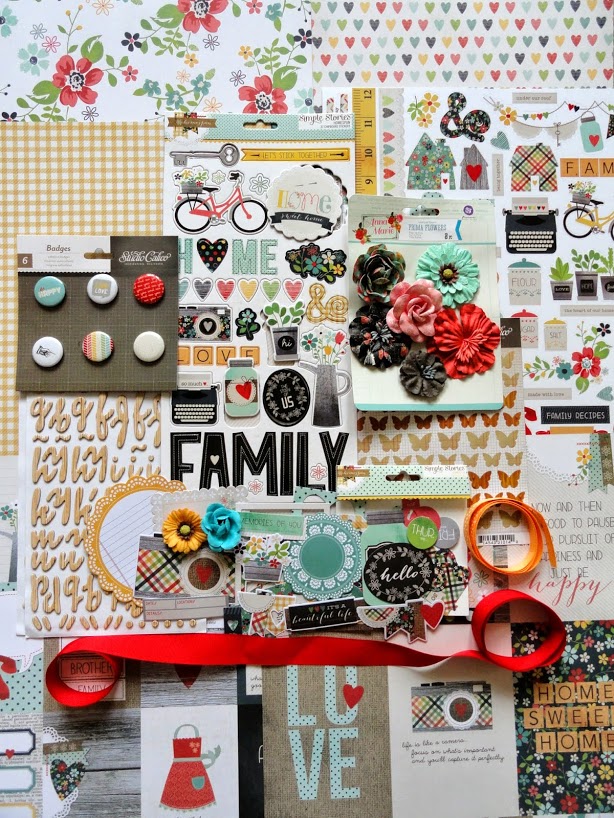
Then I started layering all the accents and embellishments for my page.


The stitched accent adds a lovely amount of dimension in the background.


You can use this technique on Project Life cards, Art Journaling, cards 
and many other papercrafting projects.

AND
you can do it in front of the TV!!!

Thanks for stopping by!


www.lydellquin.blogspot.com

Thursday, May 15, 2014

Simple Cards with the May Kit from MCS

My last Projects for My Creative Scrapbook, using the main kit for May.

I created a set of cards using 1 sheet of cardstock.


They turned out quite sweet.  
Very easy though.

Cut a 12x12 sheet of Cardstock in half

(6x12)


cut one piece at 6 inches
(you will have 2 -6x6 inch pieces)

cut the other piece at 8 Inches (6x8")
leaving a smaller piece =4x6


fold each piece in half and fold cleanly with a bone folder.


                                                       Now you can start building your cards.
                                                                                     
                add a doily, a bit of ribbon a piece of co-ordinating patterned paper and a chip board diecut


same items for this one.....


Some simple stencilling, a little embossing in the bigshot machine, patterned paper 
and a sticker mounted on foam tape.

Just as easy!


Doily, string and a foam tape mounted Sticker.
It doesn't get any easier!


All from 1 sheet of cardstock!

Thanks for stopping by today.
Have a great week!

Sunday, May 11, 2014


A bit more from the My Creative Scrapbook Kit for this month!

Heres what you get.


Along with the previous projects I posted, I managed to get 2 Project Life Spreads and a Title page

Heres the first
Side A of Week 2.
I have been filling in gaps.
(I am getting there)


and Side B......


Heres the second spread.

Week 14
Side A.


Side B


and a simple Title Page for this year.

I coloured the numbers in with a red Copic Marker.
It turned out really well as you could still see the woodgrain underneath the colour!


Two more down. Yay!


Friday, May 9, 2014

Back again with you today, sharing another page I created with the Main Kit from My Creative Scrapbook.


Here's Layout #2....

"You & Me"


I have photographed the process of this page, so you can see clearly what I did.
In short, I used a Crafters Workshop Template and spritzed some Heidi Ho Blue Coloringz (Shimmerz Paints) through it. When it dried I added pinholes for the stitching and just used crochet cotton to stitch a simple straight stitch around the edge of the stencil.  I will include the tutorial for this shortly.


Ok so until next time!  
Have a creative day!


Tuesday, May 6, 2014

Some fun News!!!


The Crafter’s Workshop 2014 Design Team
Our Design Team Coordinator is Cheryl Boglioli.
Design Team Members:
YAY!!!!!
That's my excitement for the day!


My Creative Scrapbook in May


I have some of the projects I made with the Main Kit at My Creative Scrapbook this month, to share!

Have a look at the  Main Kit.....Isn't it lovely?


The Main Kit was a lovely family oriented Kit, and was perfect for my Project Life this month.  I managed two Project Life Spreads and the title page....  The embellishment packs were just perfect for it!  I also got a couple of Layouts and a set of cards!  I will share all of the projects throughout the month

Lets start with the Layouts.
Heres the first...


I started out with some simple strips, all stitched down with black cotton.


I pulled apart the flowers.  
They are always a little too dimensional for me, for a layout that has to fit into an album.
I made some simple buds, by cutting up the petals from a layer of the flowers I pulled apart.  All the flowers and buds on this page are from two, single pre-packaged flowers.


I made a solution of strong black tea, added it to a spray bottle and a pumped a couple of squirts of hand sanitiser into it to stop it going off.  I made it a few months ago, and the sanitiser trick works great....it still smells fresh and lovely!  The droplets you can see on my page is the tea spray.

Great value for money with the main Kit this month.  
I will be back with the next project in a couple of days!

Thanks for stopping in today!


www.lydellquin.blogspot.com