Just thought we would put together a little bit of information on how the July Album in the Fresh Folk Kit can be altered to create a fun landscape version.
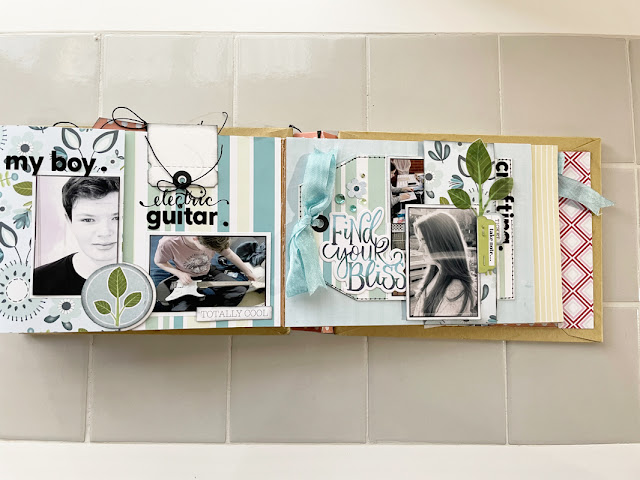
This album holds in excess of 60 photos (mine are all printed 2x3 inches ie-4 to a 6x4 print) To start with I edged them in black ink by running the edges along a black permanent marker and then matted them on white copy paper. This just lifts them a little when mounted on printed paper.
After constructing the album (see video for tips) I cut up papers from the collection to cover each page. Just measure them and cut to fit. Glue on each page to prepare the album for production. I also cut up a bunch the same height as the album pages but only half as wide to create page extension flaps on any pages I wanted them on. Just score and fold 1 inch in from the edge to create the hinge, then glue that piece on the existing page.
I cut up a 12x12 Sheet of watercolor cardstock into tags measuring about punched a hole in each and used them throughout the project. Ink, draw borders or faux stitching lines as desired. They will be large enough to mount a 2x3 matted photo, front and back. Tie each with string.
You can also cut a bunch of square pieces to be photo mats or even more internal pages, score 1 inch and fold and use that as the hinge for the page.
Cutting up a bunch of strips to be 'belly bands' to act as a pocket to slide in more tags and photos is very helpful. You can make them 1.5-2 inches wide and the height of your pages. Just glue them top and bottom so you can slip anything in behind them. Add any titles, photos or embellishments to these to decorate and add layers.
add in any page flaps to create places to continue a story you have more photos for, where ever you like.
It's fun to cut out circles and other little embellishment pieces, but glue only half on the edge of a page to create 'page turns'.
I also cut some wider tags a bit smaller than each page, and used these front and back to add more photos. These can be poked in nicely behind the belly band pockets.
And here is a walkthrough with a bit of explanation on each page. It's a little over 15 minutes so grab yourself a cup of tea!
Thanks for stopping by today. Enjoy making your own album!


